
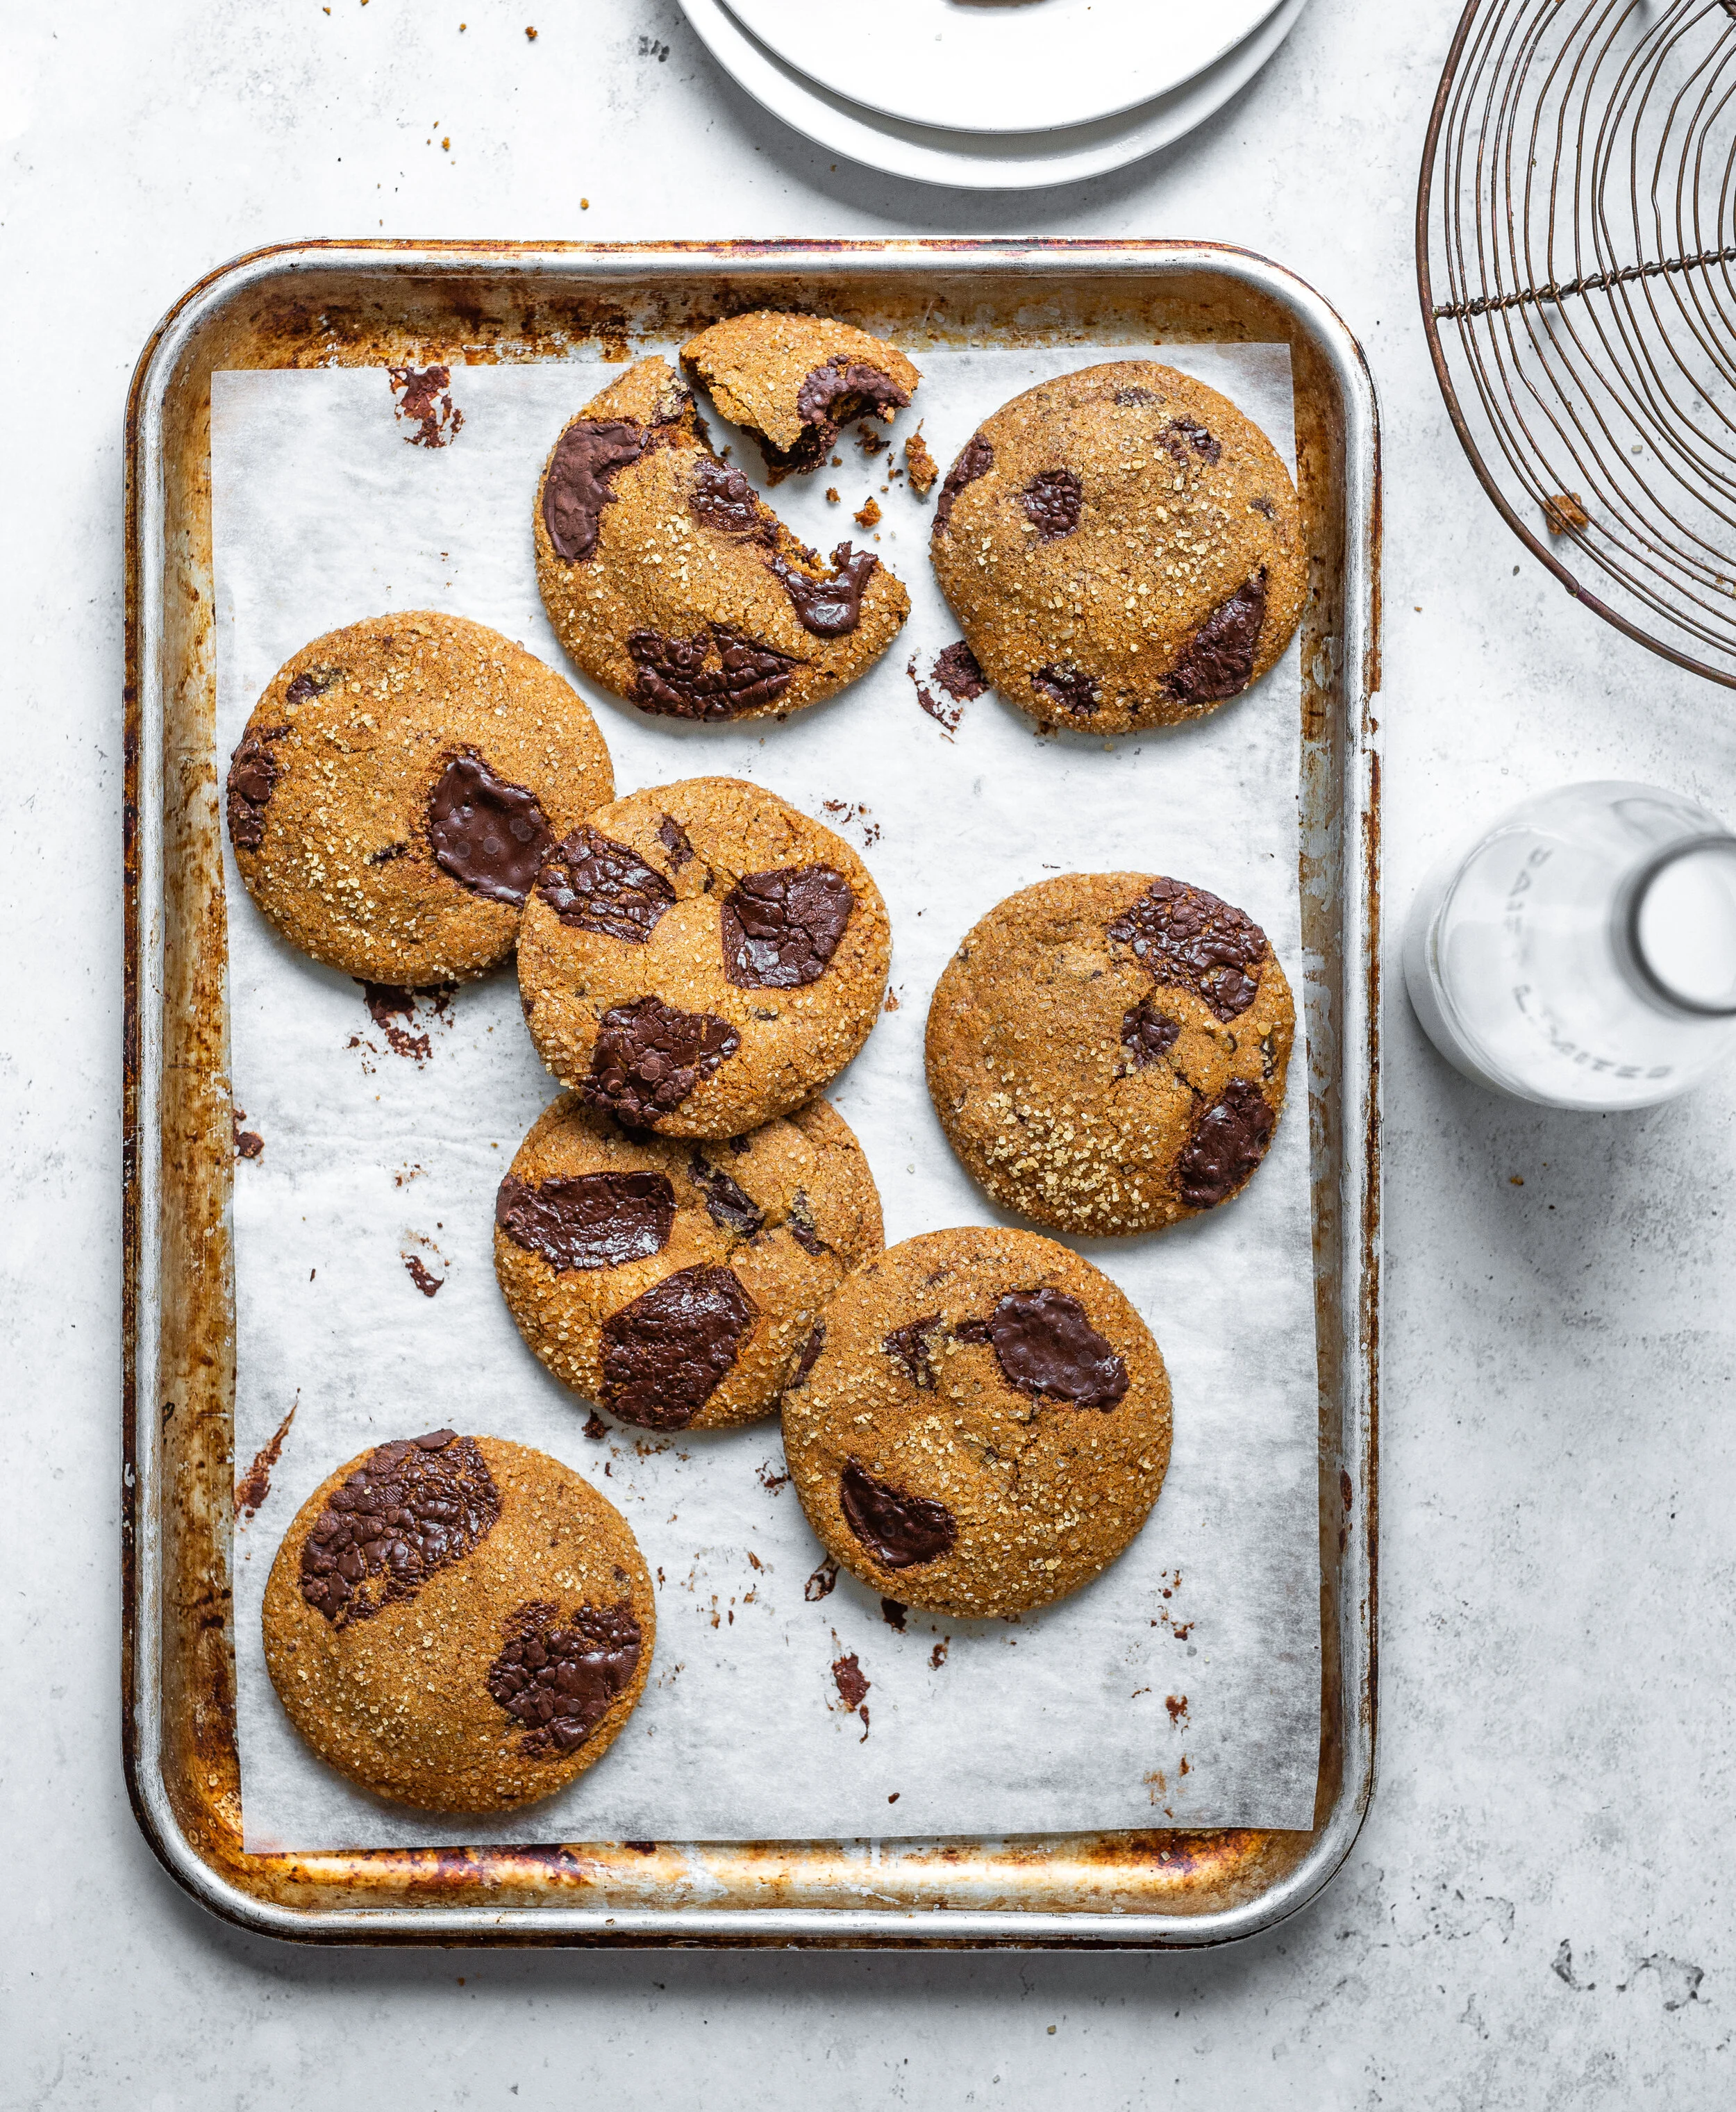
Chocolate Chip Molasses Ginger Cookies
Makes 22 cookies
As I write this I am sat in my local coffee shop and its packed so im squished in at the last table by the door, shivering away as the biting cold constantly rushes in every time someone opens the door. It is well and truly winter and I my sixth bakers sense is telling me to break open the spices, the wintery bakes that provide comfort, a sense of warmth and make getting out from under the blanket worth it. Todays recipe is a special one, a mash up of two favourites and it is one of my recipes that appears in this years Bake From Scratch ‘Cookie Issue’. If you’ve read the magazine before you know I write for them regularly and am always thrilled when they ask for another feature from me. If your in the UK it is not currently on the shelves in shops here but you can subscribe and they’ll send out issue or you can also get a digital subscription should you want more Christmas cookies (my other recipes include a espresso chocolate sable sandwich cookie and a stamped lebkuchen)
Nothing says Christmas to me more than spiced bakes and very few recipes will win me over more than a soft gingerbread cookie. Add chocolate to that cookie and then they’ll be nothing else I want to eat this winter! Because the cookie uses both muscavado sugar and molasses there is already a hint of bitterness in the recipe so when choosing your chocolate you can go a little lower in cocoa content than you might usually for a chocolate chip cookie, even a milk chocolate would work wonderfully here.
The recipe was originally written for an American audience so you will see that it uses molasses as one of the ingredients, it gives it that charecteristic flavour, the depth, the treacly notes. Thankfully you can happily use black treacle as a replacement. I know you can buy molasses from some health food stores here in the UK now but to be honest I haven’t actually tried these yet so if you’re in the UK I would simply suggest sticking to black treacle.
Whilst these gingerbread cookies are already packing a lot of flavour there is always room for more, right? If you like your gingerbread cookies with as much ginger flavour as possible you can also add a few tablespoons of crystallised ginger to the batter, making them a triple ginger cookie. When it comes to texture these veer towards the softer side of gingerbread cookies but if you are one of those people that prefer a chewy gingerbread cookie you can use a 50/50 blend of plain and bread flours.
Chocolate Chip Gingerbread Cookies
225g unsalted butter, room temperature
220g light brown muscavado sugar
160g molasses (black treacle will also work here)
2 tbsp grated fresh ginger
2 large eggs
1 tsp ground ginger
2 tsp ground cinnamon
1/4 tsp freshly grated nutmeg
525g plain flour
2 tsp baking soda
1/2 tsp salt
300g dark chocolate (55-60% cocoa solids) roughly chopped
100g demerara sugar, for rolling
In a large pan set over medium/high heat, melt the butter, sugar and molasses together until the butter has fully melted and the sugar has dissolved. Remove from the heat and allow to cool for about 30 minutes. Once cooled whisk in the eggs, mixing until fully combined.
In a large bowl whisk together all of the remaining ingredients, except the chocolate. Pour the butter mixture into the flour mixture and mix together with a wooden spoon until almost fully combined. Add the chocolate and mix together until you have a uniform cookie dough. Cover with plastic wrap and chill the cookie dough for 2 hours before baking.
Preheat the oven to 190ºC/375ºF (170ºC/340ºF Fan)

Roll the chilled cookie dough into ping pong ball sized pieces and coat the outside in demerara sugar. Place onto two sheet trays, lined with parchment, a couple inches apart.
Bake in the preheated oven for 10-12 minutes until set and lightly browned around the edges, but still soft in the middle. Allow to cool on the sheet trays for 10 minutes before transferring to a wire rack to cool completely.
Kept in a sealed container these cookies will keep for up to three days.


